Each person connects their own accounts. The assistant searches them live with your access, so it only finds what you can already see, and your sign-ins are never shared with anyone else.
Connect a service
- Open Settings ▸ Connectors (click your name at the bottom of the sidebar), or click the + on a new chat.
- Find the service and click Connect.
- Sign in to the service and accept what it asks.
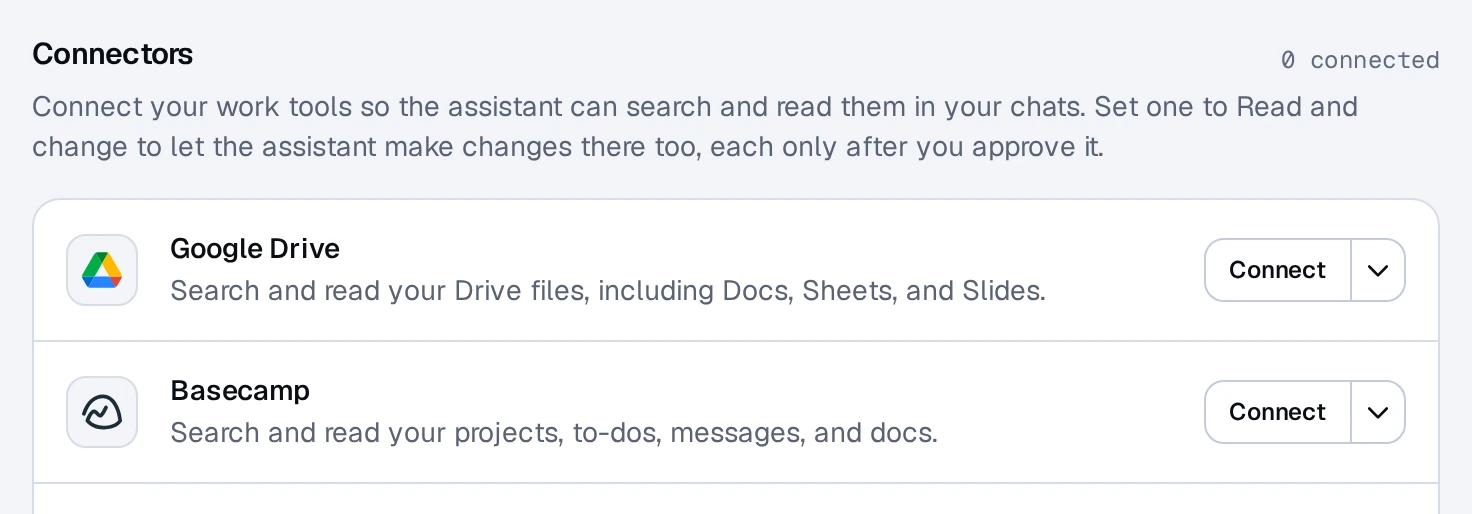
Some services can't be connected by each person alone. For those, an owner or admin first sets the service up for the whole organization in Settings ▸ Connectors. Until then, the row says Needs setup.
Read, or Read and change
Every connector starts at Read: the assistant can search and read, nothing else.
Where a connector can make changes (posting a message, creating a file, sending an email), you can set it to Read and change:
- When connecting, click the small arrow beside Connect and choose Read and change.
- Once connected, use the Read / Read and change switch under the connector in Settings. If it says "Reconnect to let it make changes", click Reconnect so the service grants the extra permission.
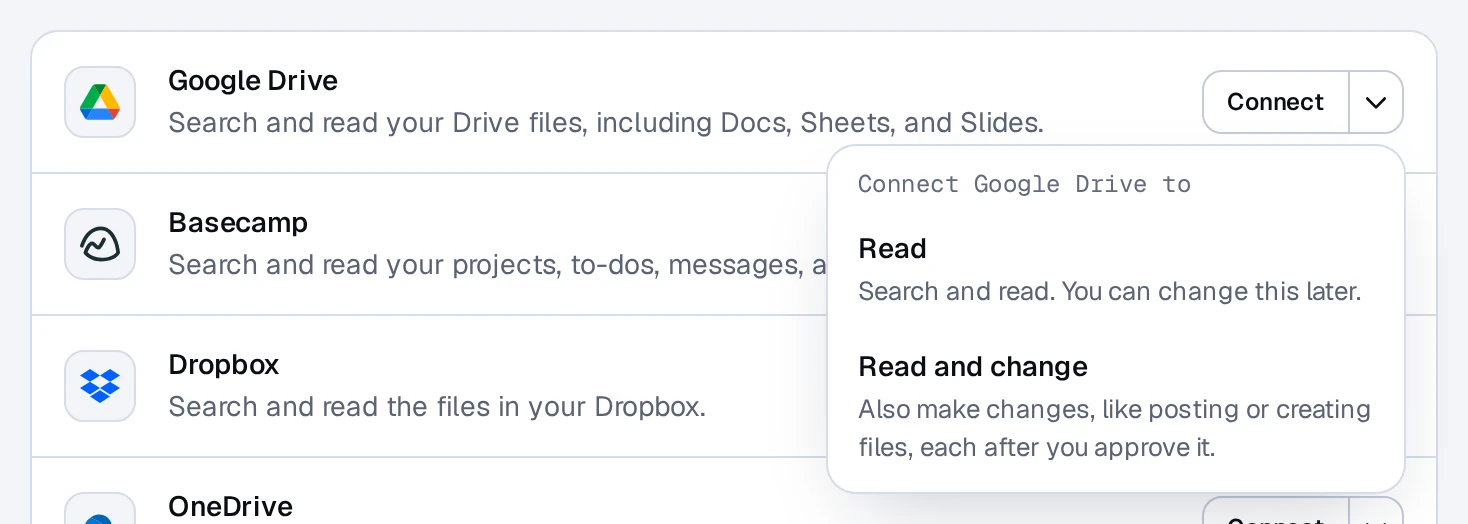
Even at "Read and change", every change waits for your approval. See "Approving changes". Owners and admins can turn changes off for the whole organization (Connectors can make changes in Settings ▸ People); the switch then says "Your organization lets connectors only read."
Several accounts of one service
If a connector supports it, click the + on its row ("Add another account") and sign in with the other account. Each account gets its own line with its own access level, pause, and disconnect. Click an account's name to rename it, for example "Acme" or "Side project". The assistant uses all of them and shows which account each search or change used.
Pause a connector
Click the pause button on a connector's row. It stays connected and keeps its sign-in, but the assistant leaves it alone until you click Resume. Pausing only affects you.
Disconnect
Click the disconnect button (the broken link) on its row and confirm. We delete its tokens and the text we cached from it. For some services you can also remove Chat with Work on their side; see "Deleting your data".
MCP servers
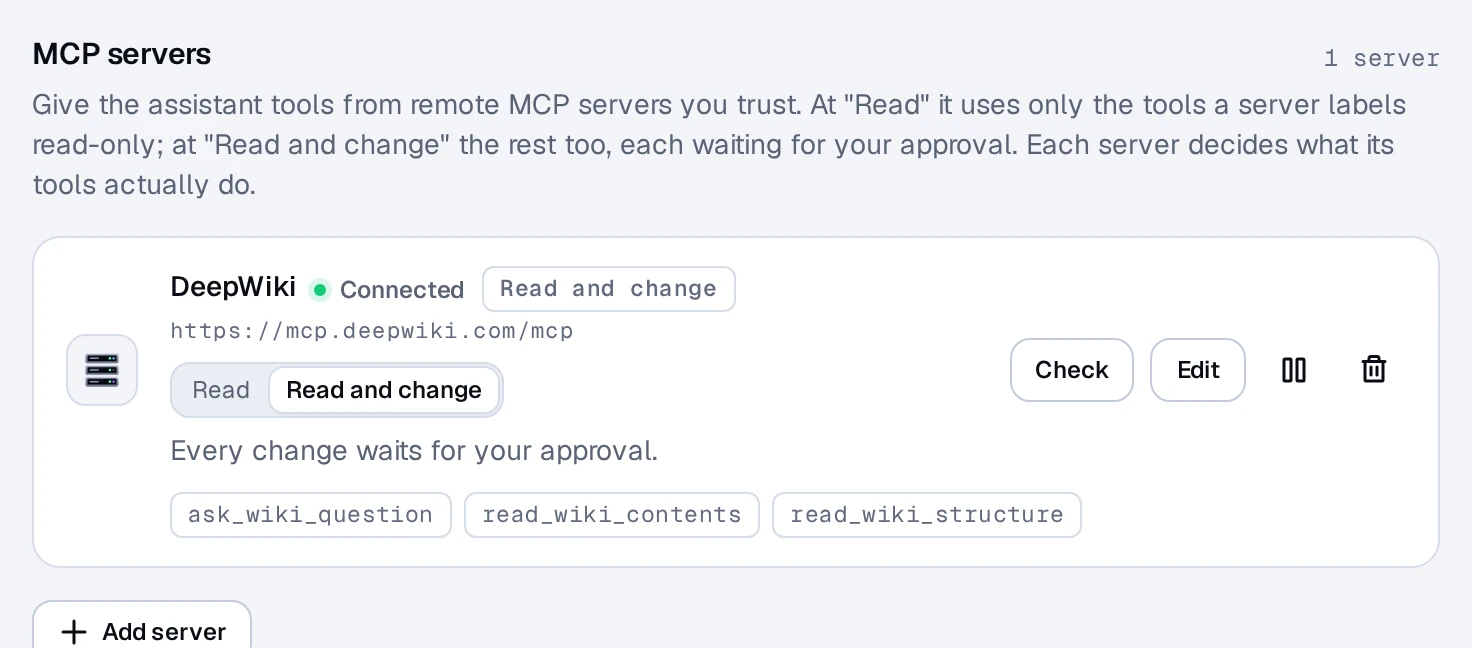
Under Settings ▸ Connectors ▸ MCP servers, Add server lets you add a remote MCP server by its HTTPS address. Like a connector, it starts at Read, offering only the tools the server labels read-only, and at Read and change every other call waits for your approval. Add only servers you trust: their operators decide what happens to what you send them.
Questions? Click the chat bubble in the corner of the app, or write to support@chatwithwork.com.